 When we moved from one house to another, we weren’t quite sure where all of our furniture was going to go. The table we had been using in the dining room wasn’t going to fit in our new home as a dining room table. So we decided to make it the new office desk space. Which, I must say, it looks great and works perfect! But that left us with the question – what will we use to sit at while we eat our meals?
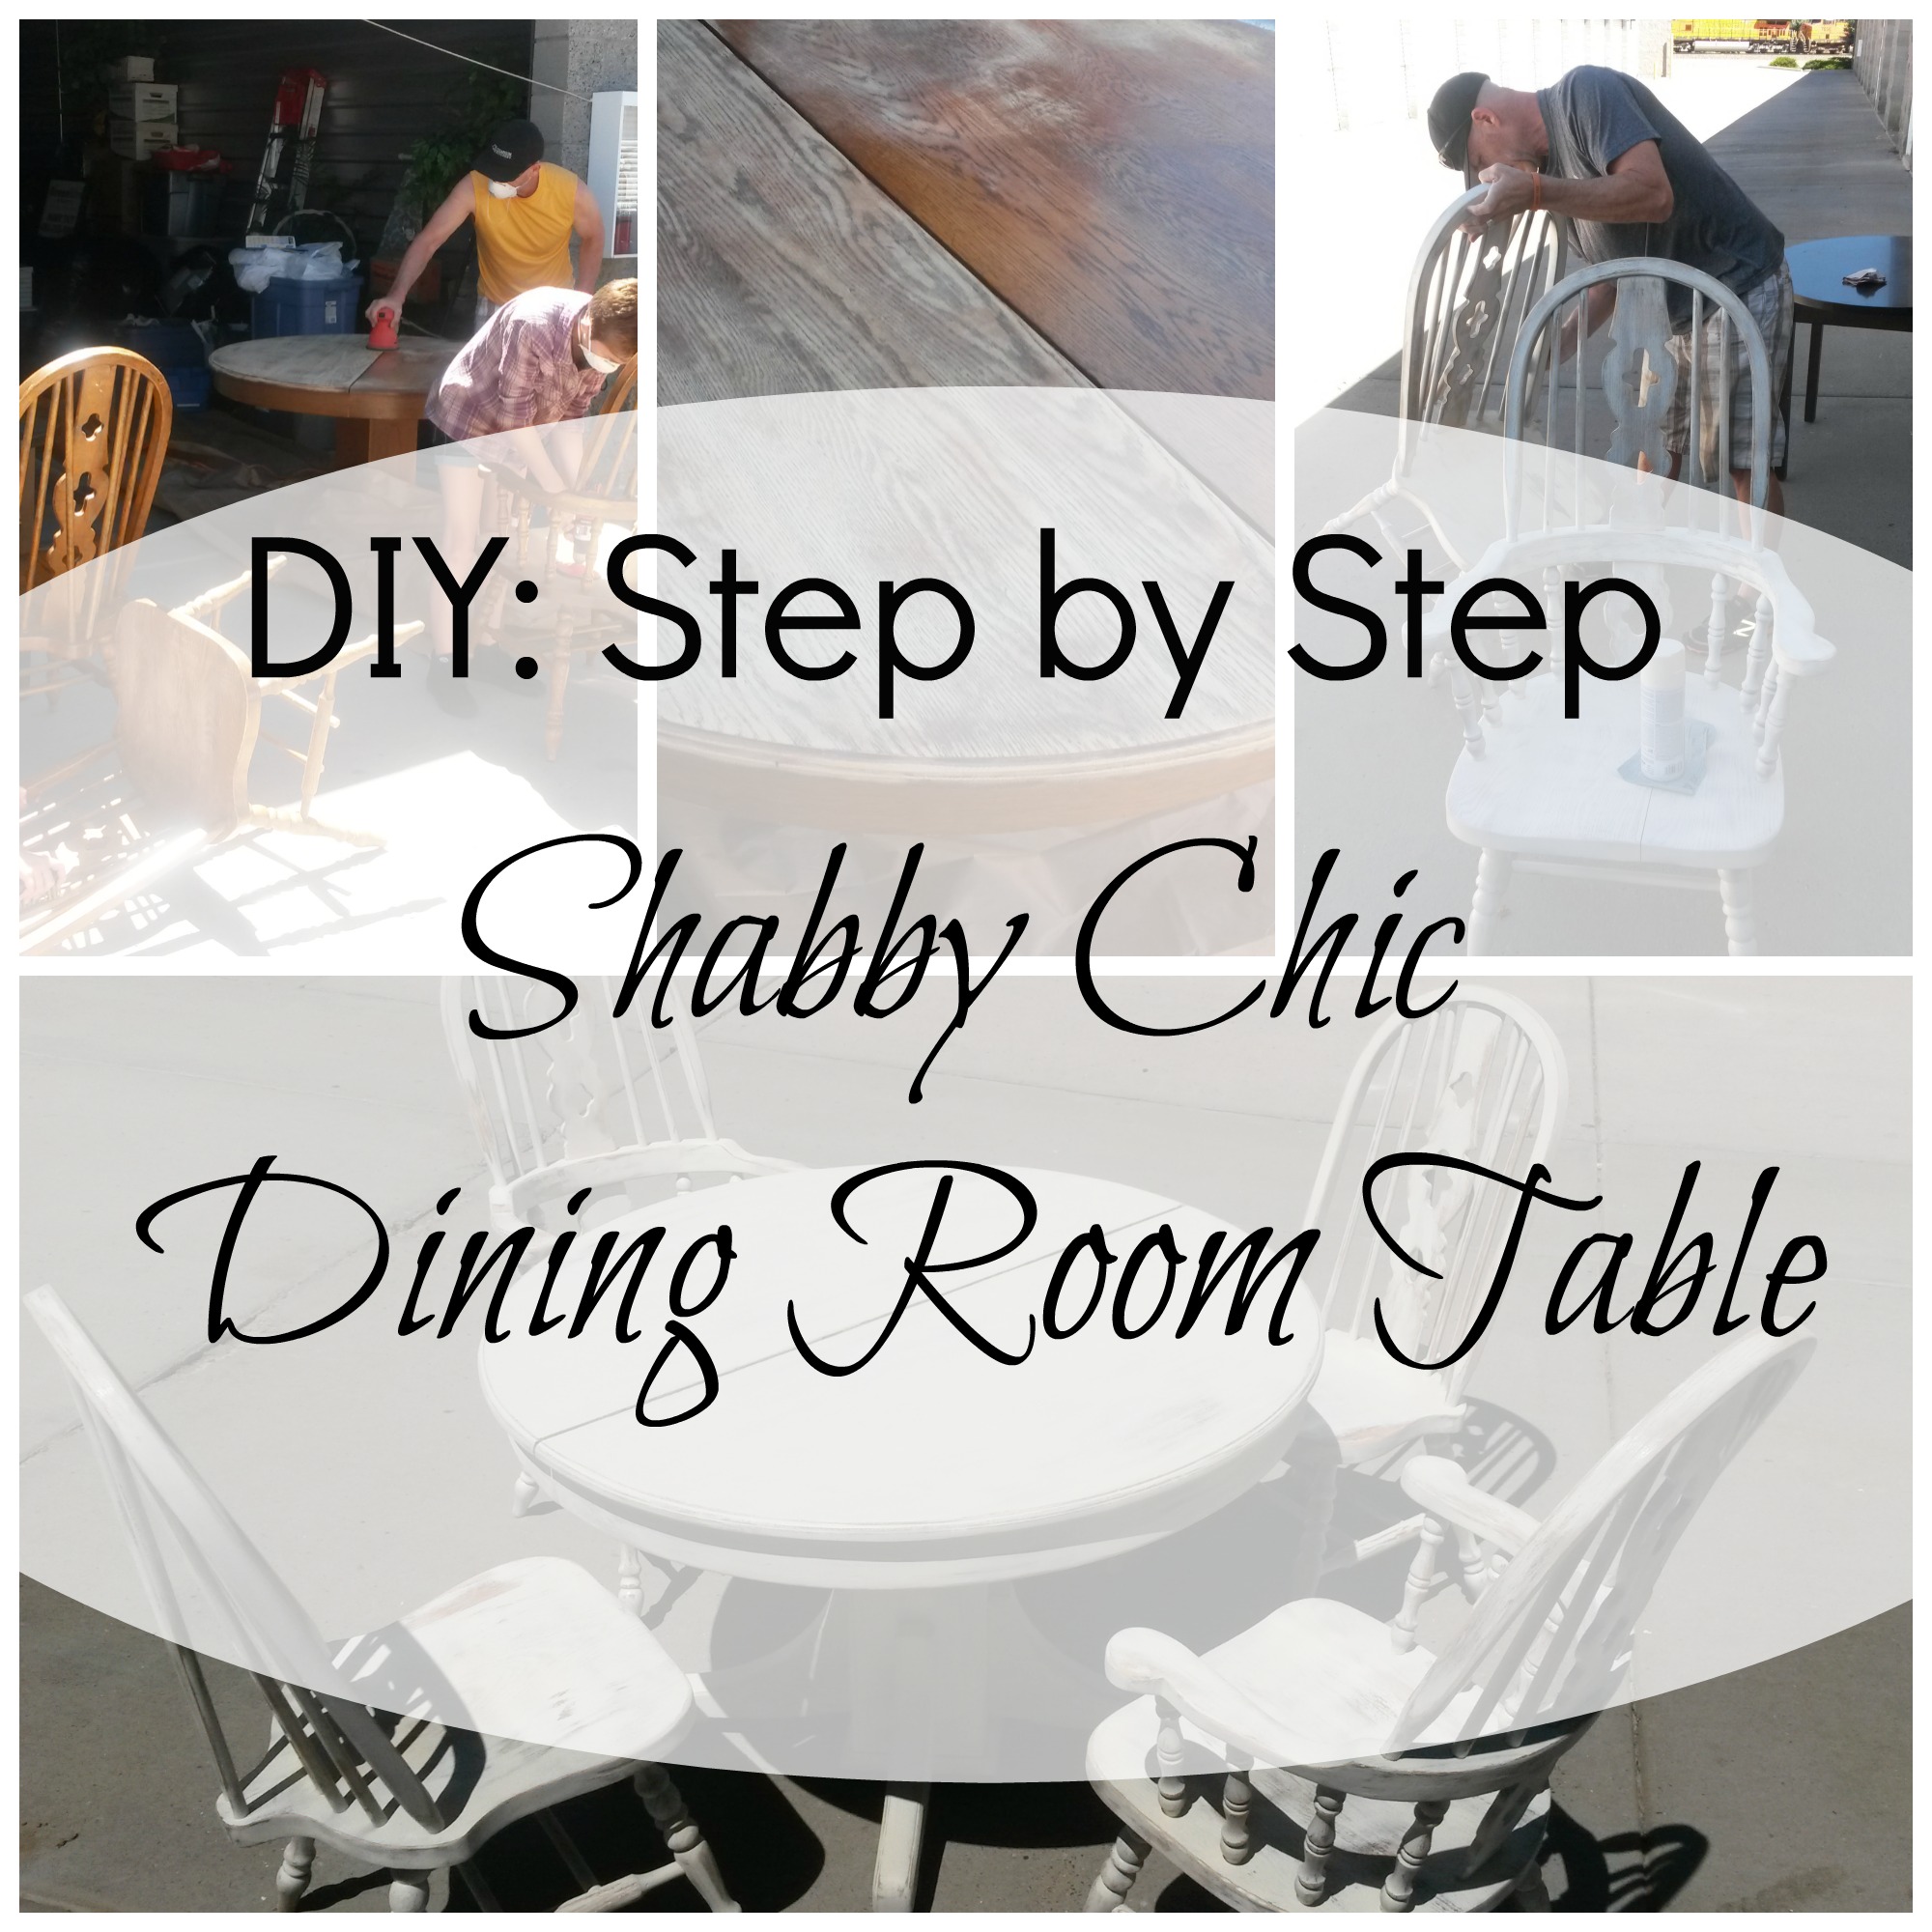
In our upstairs loft, we had an old table that we used for a catch-all, quite honestly. We all hated this little table – it really was the ugliest little thing. But – we also didn’t want to spend any money on a new dining room table either. So we decided to have some fun and see if we could make the ugly little table into a cool little shabby chic dining room table.
We made this into a family project. All four of us grabbed sandpaper and spray paint and went at it!
Here’s the steps we took to turn an old ugly table into a cool shabby chic dining room table:
Pre-work Prep: What you need:
-
- Sandpaper (coarse for the first step, fine for after painting)
- Electric sander (This is optional – but man, does it make life easier if you’re doing a big piece!)
- Spray paint (the amount of cans needed depends on the size of your project. We went through 6 cans for this small table and 5 chairs)
- Drop cloth – Get a few as you’ll most likely need more than one
- Old towels (to wipe off the dust)
- Clean rag
- Furniture Wax
– Yeah, I don’t actually remember what brand we used. I’m not sure it actually matters – here’s a link to a few options to choose from.
- And MASKS!!! Don’t forget the masks!!! You don’t want to breathe in this dust – no fun.
- Where: We did all of this in front of our storage unit (NOT saying I recommend that! I’m not sure if that was against the storage unit rules or not!!) But if you’re at home, take your project into the driveway or the yard – somewhere where there is plenty of ventilation and you don’t care if you get some spray paint on something other than the furniture!
Step 1: Sand it down!
- We used coarse sandpaper to strip down the chairs. We had 2 electrical sanders that we shared, and also hand-sanded by wrapping the sandpaper around a block of wood. For the detail work, we hand-sanded without the block. You want to make sure you get all the shiny finish off the wood, but we took it down even further in some spots. It didn’t have to be uniform or perfect – that’s the point of shabby chic!
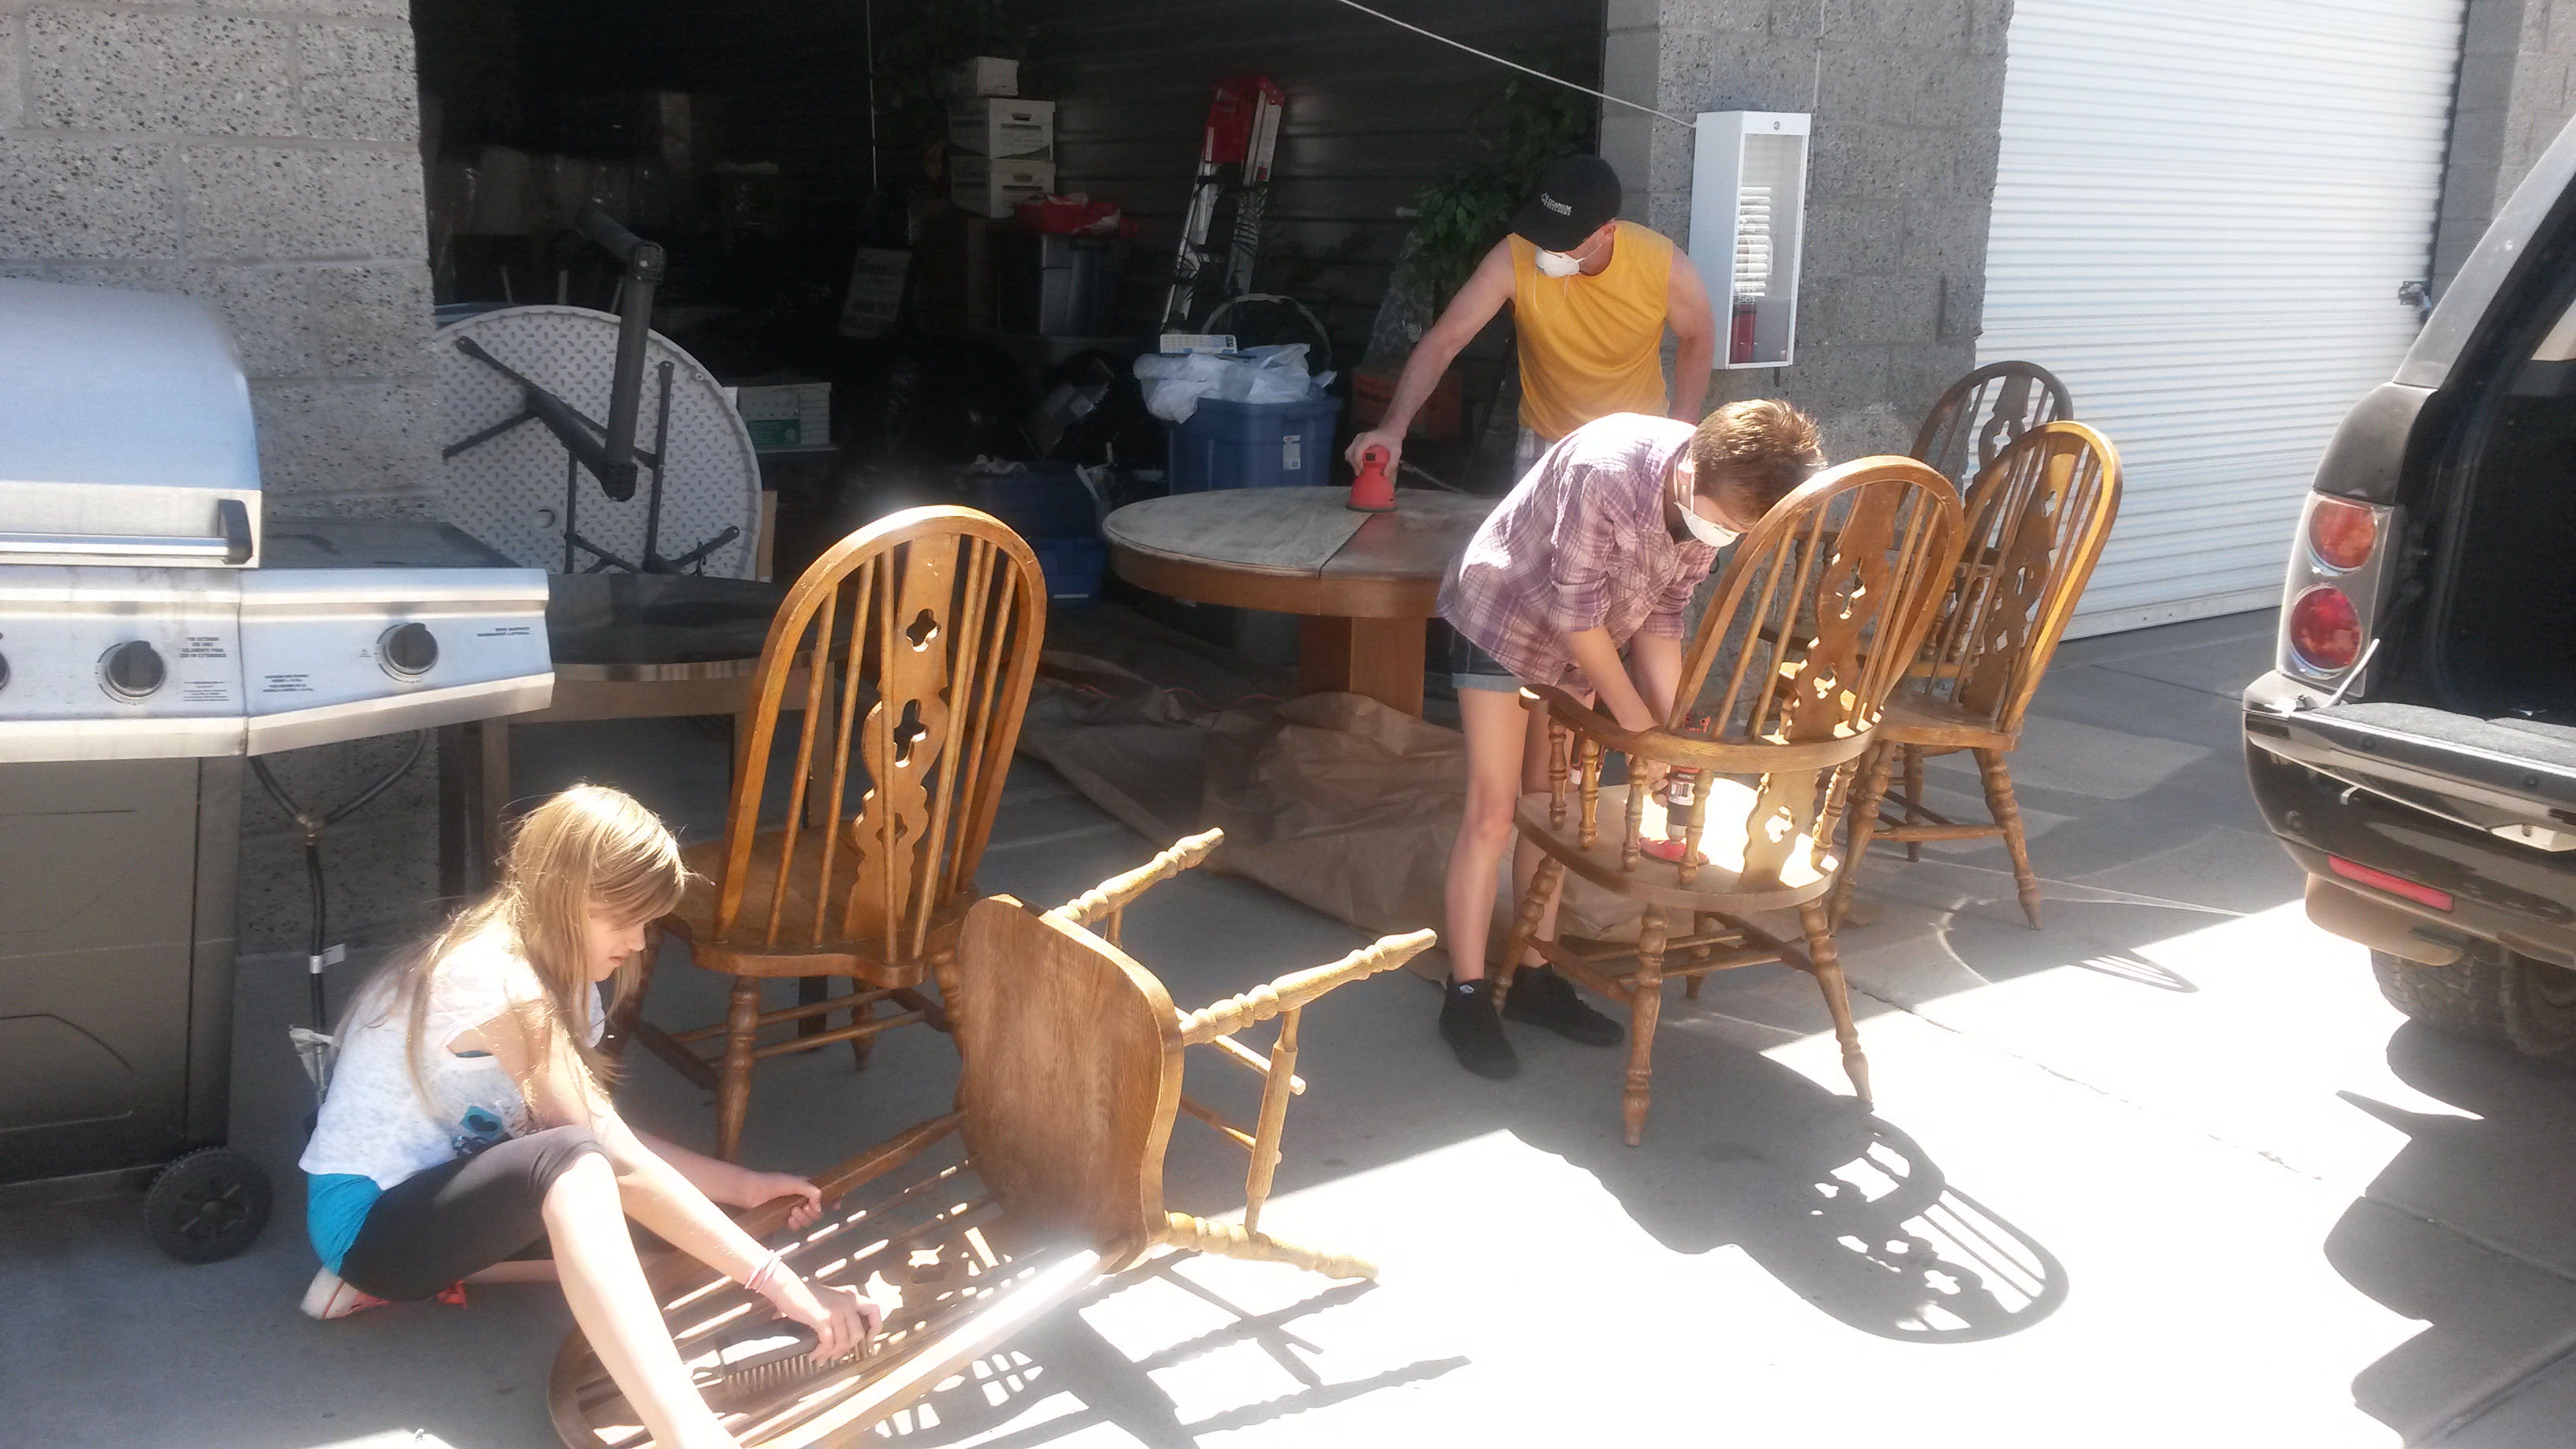
Making a Shabby Chic Table – Step 1: Sanding down the ugly old dining room table
Step 2: Wipe it down!
- We took a couple of towels and wiped off all the dust. Make sure you get it all off – you don’t want dust getting stuck in your paint.
Step 3: Time to paint!
- Put down the drop clothes and then put the furniture on top. Or, if your furniture piece is too big, just do the best you can to get the drop cloth down around it the best you can.
- Shake the can – shake, shake, shake, senora. (Now that you have THAT song in your head, let’s continue.)
- I held the can about 9-12 inches away. We went for the full coverage, but didn’t worry if the coverage was all uniform. Some spots were painted heavier than others. Time to let it dry. We left it overnight and came back the next day.
Step 4: Sanding the “shabby” in – this is the fun part!
- We used the fine sandpaper to put the shabby in.
- Try to sand off the paint in the spots that would be subject to natural wear and tear. How much you sand down is up to you – it’s a matter of personal taste.

After the paint dries, it’s time to sand down the shabby-spots.
Step 5: Wax it up!
-
- Take whatever furniture wax
- When you’re done with this step – you’re done!
- Take whatever furniture wax
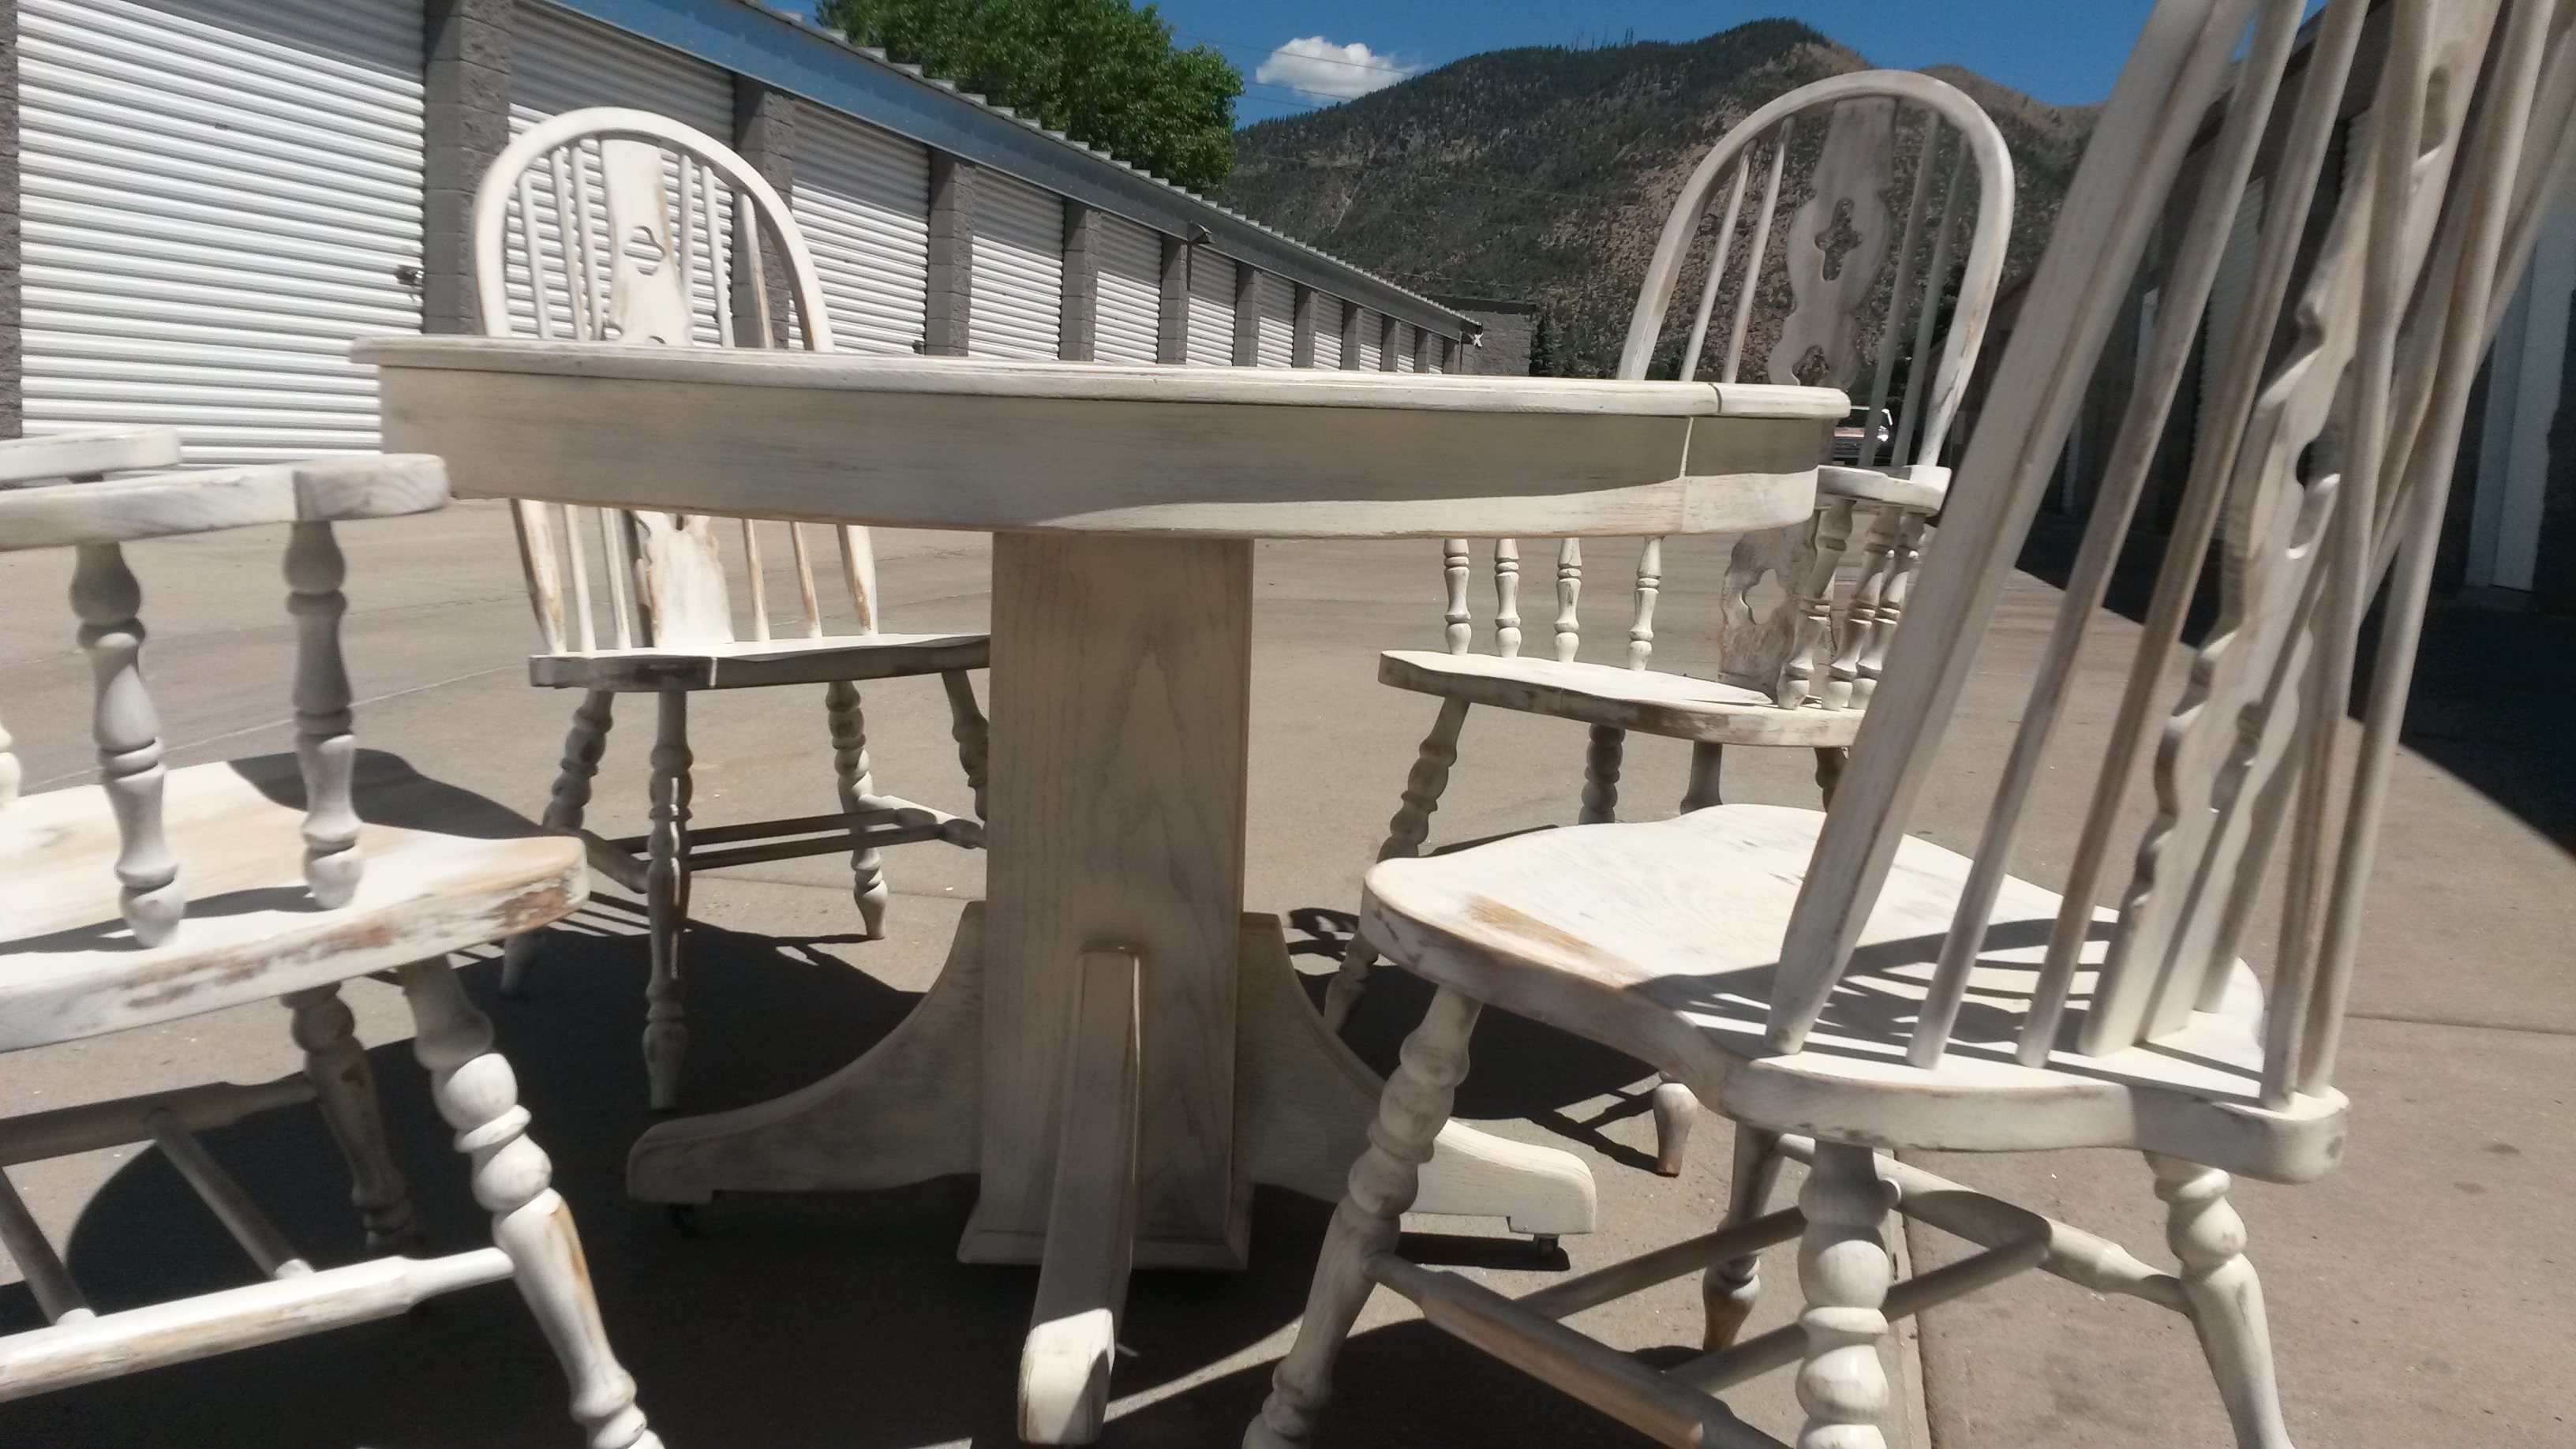
Yay! The finished product! We turned an ugly table into a cool shabby chic dining room table.
Let me know if you do one of these shabby chic projects. I would LOVE to see your finished product!
